- October 12, 2021
- Posted by: Editor
- Categories: Elementor, WordPress

There’s a number of plugins or addons that you can use to add tables in Elementor such as TablePress but the problem with some of these solutions is that they store content outside the page meaning that you have to go digging elsewhere to find and update content in the future. Others create tables by creating tons of fields in the sidebar to update small pieces of information.
This solution creates a table directly on the page where content such that content can be edited directly. How? By using the Advanced Editor Tools plugin, formerly known as TinyMCE Advanced. Elementor uses the built in WordPress editor for the text widget, meaning that by upgrading this editor we get access to additional tools such creating tables, adding rows and deleting rows and columns.
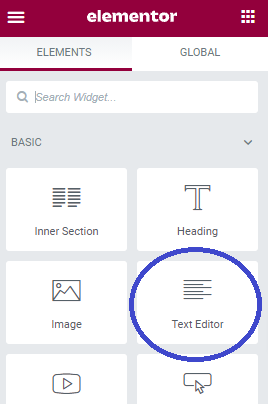
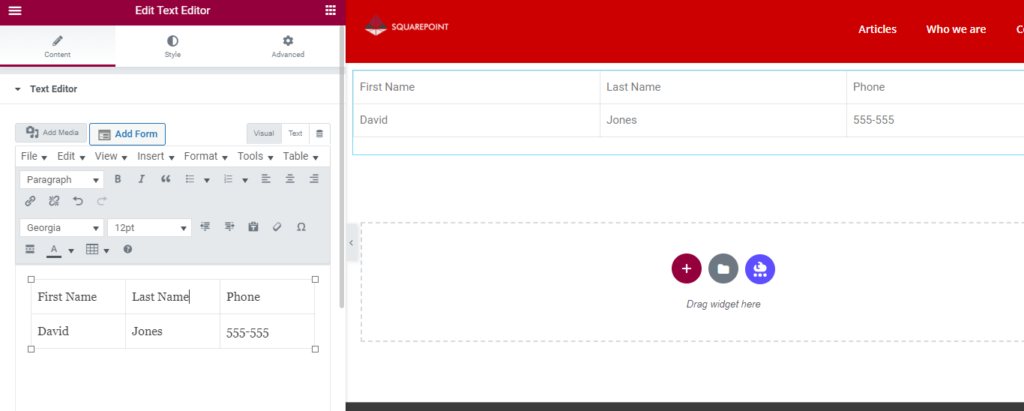
Our first step is to install this plugin from the WordPress Add Plugins page. Once activated, check Settings > create a new page in Elementor. Drag the Text Editor Widget onto the canvas. Then click on the widget to edit it. Now we can use the Table menu to insert a new table and populate it with our information. Once you created the table you can edit in directly on the Elementor canvas. However to add more rows or columns you’ll need to jump back to the sidebar widget, highlight the table in the text editor then click on the Table menu option which will give you various options to manipulate the table.
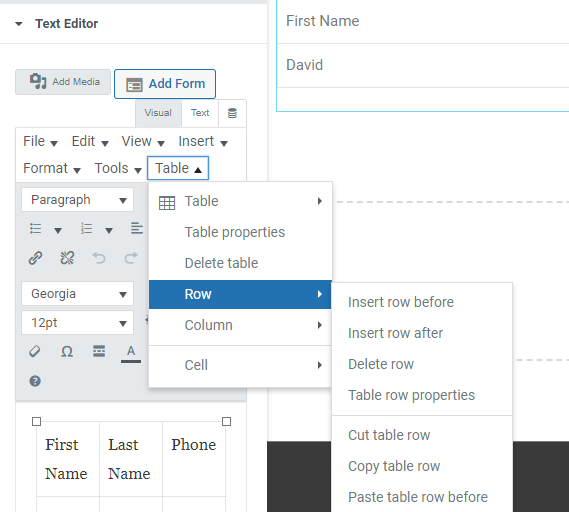
You can also amend table properties such as the row background color by selecting Table >Row > Table Row Properties which allows you to even add your own custom css in the Style field. Options like these are available for Rows, Columns and individual table Cells.
You can also quickly remove a table by selecting the Delete Table option under the same Table menu item. Note also that all of the Table options can be used from the Table icon in the Text Editor toolbar.
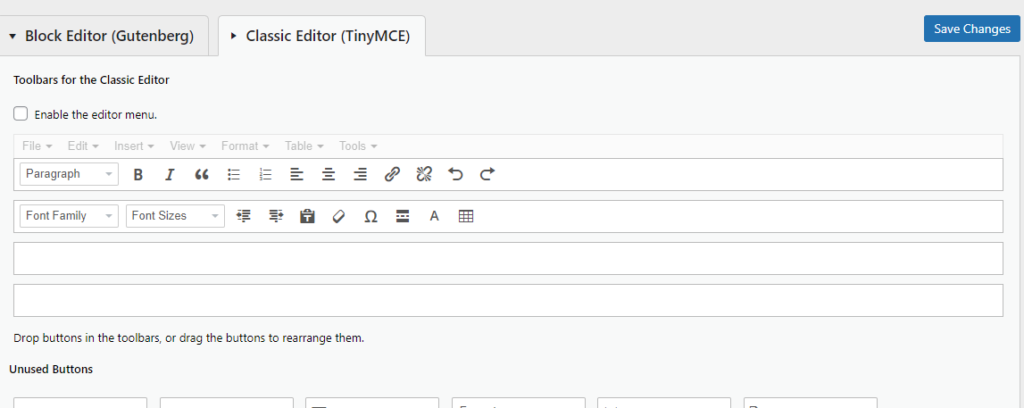
The additional of the Advanced Editor Tools does take up more space than the basic editor however you can add or remove options from the toolbar by going to the Settings > Advanced Editor Tools option from the WordPress Dashboard. Selecting the Classic Editor tab allows you to turn the editor menu on and off as well as rearrange, add or remove buttons from the toolbar that you may not use by dragging them in or out of the toolbar using the options below.